No PWT Image for Joomla 4
With the improved Media Manager in Joomla 4 the need of using PWT Image drastically recuded. Combined with the costs and efforts to develop a version that integrates nicely with the new features and possibilities, recuded in Joomla 4 we have decided that we will not provide a version of PWT Image for Joomla 4. So PWT Image remains Joomla 3 compatible only.
General usage
PWT image replaces the standard Joomla image selector and massively improves it. It allows for standard-presets of image-ratio's and makes cropping to the desired format a breeze. Also some very easy image-editing is provided. Users can be restricted from selecting existing images so that they need to upload their own if needed. Uploads can be forced into preset folders and folder structures.
All this makes the solution perfect for end-users that get lost in the Joomla core image selector. Also, no more huge uploads or funny ratio's.
Initial Configuration
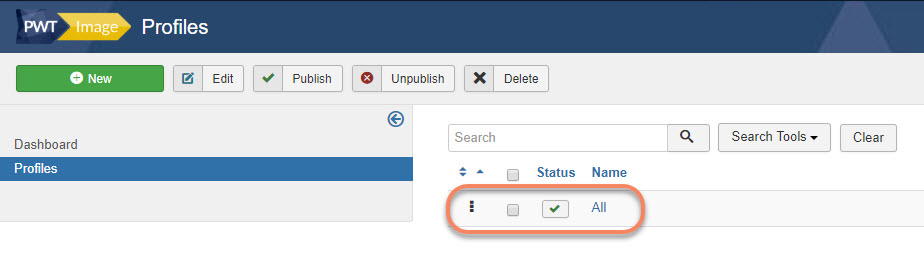
The PWT image plugins are auto-published during installation, but it is possible to set some default options. To do so, go to the PWT Image component view via Components >> PWT Image. All options are set via the Profiles option at the left:
Unless you create more, there is one default profile called All that applies to all users. In many sites this may just be all you need:
In there, you have the following settings:
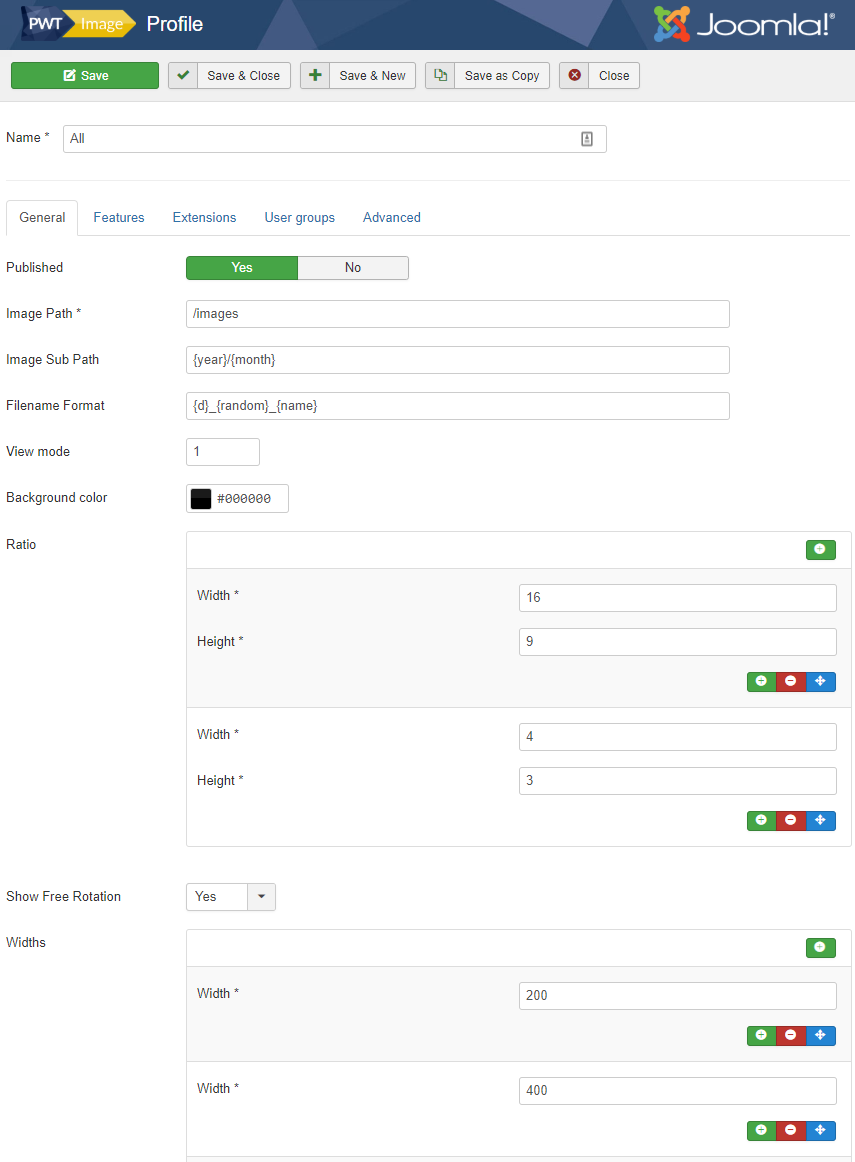
First of all you can change the default image path (but it is advised to leave the default). Also you can set a pattern for the subfolders of the uploaded images. Default is a year / month pattern. Then finally, a pattern for the generated filenames can be set. All these can be customized to your wishes.
Also, you can indicate the available presets for aspect ratios and widths and whether the Free Rotation tools are shown or not.
Secondly, in the Features tab, we have some more options:
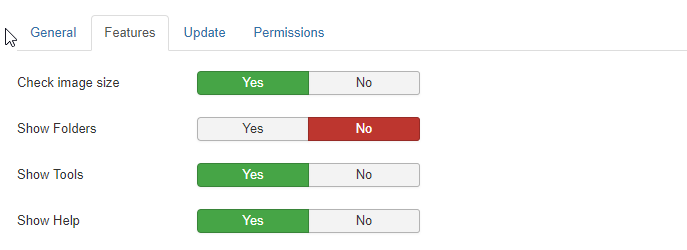
Check Image Size will inform you if the image does not meet minimum requirements (it will still be uploaded). Show Folders can be set to NO, which makes it impossible to select already uploaded images. This can be useful to restrict your end-users. Setting it to Yes will offer a Select tab in the image selector. Then finally you can set all image-editing tools to hidden with the Show Tools option. This forces all images to be uploaded and cropped to a the chose ratio(s). The rest of the option pretty much explain themselves with the help-text shown when hovered over the item.
The third tab is the Exension tab:
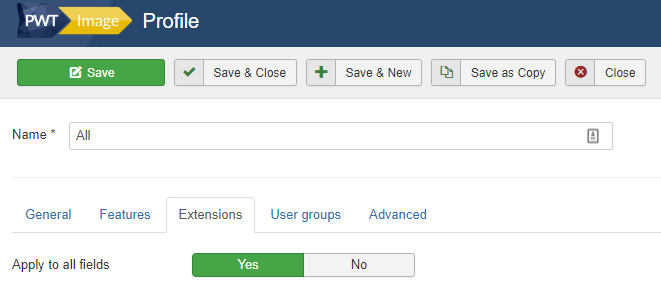
This defines whether the PWT image selector is used for all media fields or not.
Multiple profiles
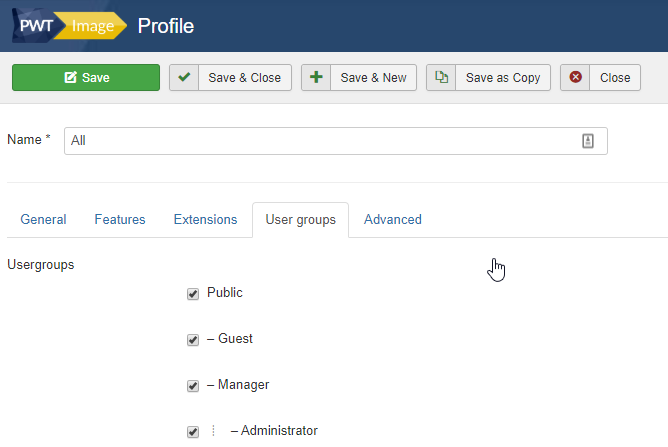
You can set multiple profiles with PWT Image. The default profile is already there and has been created during installation. However, you can imagine having different settings for Super Users and end-users with less technical skills could be useful. This is exactly what this feature is about. You can either change an existing profile or create new ones.
You can now have multiple sets in the configuration. Using the User groups tab, you can now assign the usergroups you want each profile to be effective for:
Replacing the Joomla core image selector
PWT Image is a replacement for the Joomla core image selector. We therefor made it replace all buttons where you would expect it:
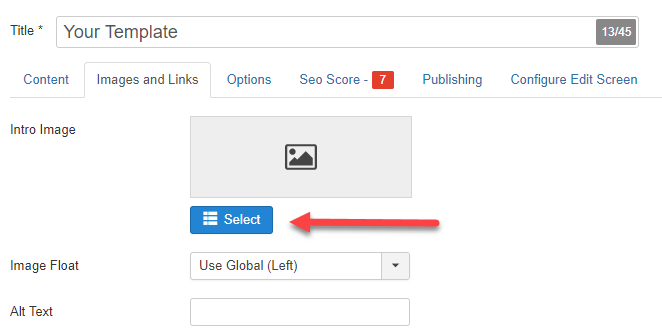
The fields for intro-image and full-article image in the Images and Links tab:
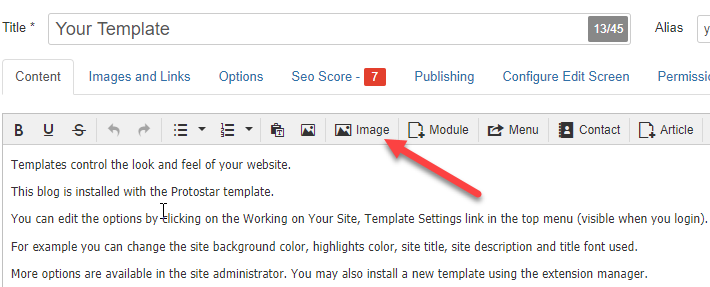
But also the Image button in the TinyMCE editor:
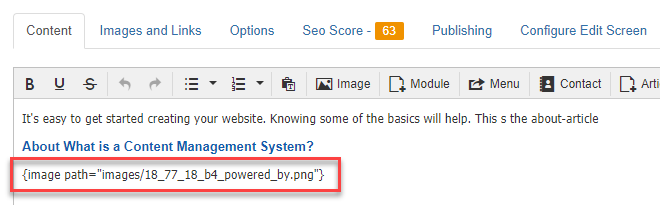
Note that if you insert an image in the article-editor, a placeholder is created. The actual image will only show up on the frontend:
Using PWT Image to select an existing image
To be able to select existing images, make sure the option to browse folders has been set to Yes in either the Component options or the plugin:
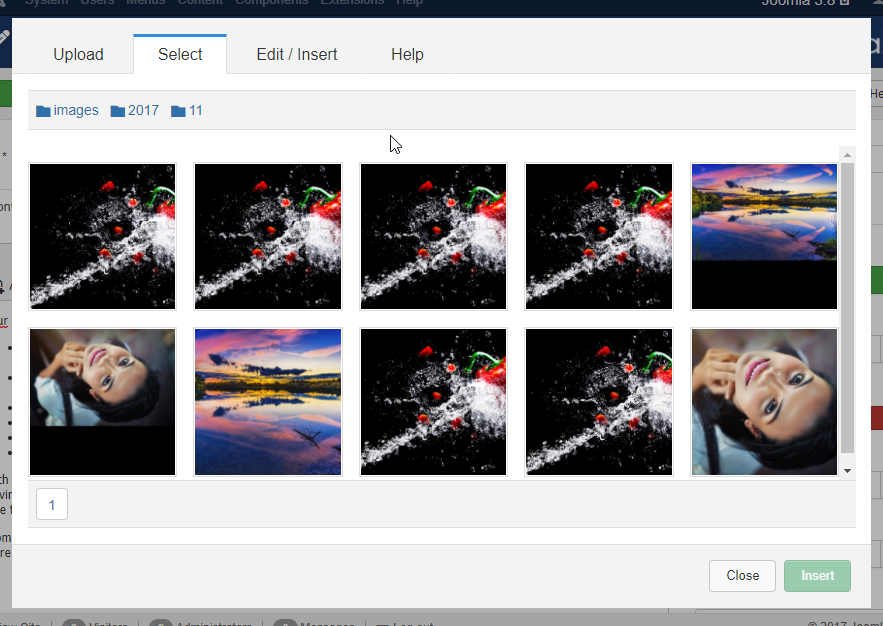
Then simply click an image and hit the Insert button. Note that you can also click the Edit/Insert option. It will generate a new instance of the image that you can edit without affecting the starting image.
Setting a fixed ratio for an image
First click the image-select button. Then either upload a new image or select an existing one (through the Select tab). Let's use a new image. After selecting and uploading the image, the image shows in its original ratio and also the filename is left intact. You can use the image as is, but you can also click the Edit button:
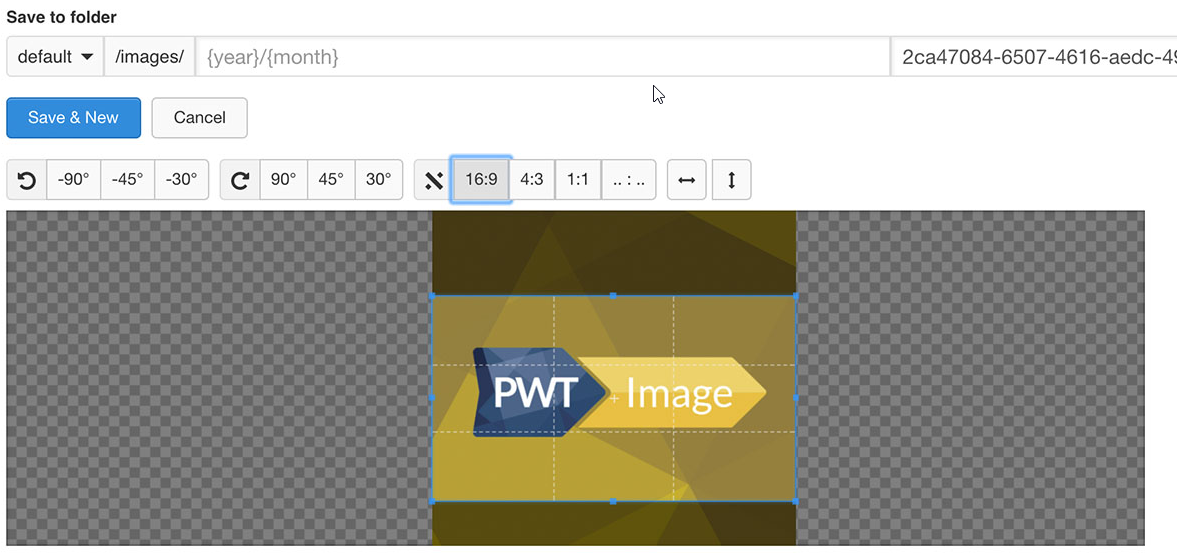
You can see that you can now select a fixed ratio, like the 16:9 ratio above, but you can also set it to 4:3 or 1:1 or even fully flexible. You can adjust the cropping by dragging the corners of the cropping-area.
Editing other image properties
Next to the fixed ratio's, there is more you can do. This should already be pretty clear looking at the toolbar:

You see that the toolbar is divided into 4 area's:
- Rotating counter clockwise: This makes the image rotate
- Similarly, but Clockwise
- The cropping tools we already discussed
- Flipping-tools: you can flip the image either horizontally or vertically
Best is to play a bit with these options, they pretty much speak for themelves.
Automatic updates
PWT Image works with the Joomla core automatic update system, but you need to set up the extension for this. To do so, you need to enter your download ID into the configuration.
You can find your download ID in the PWT dashboard at extensions.perfectwebteam.com/dashboard (make sure you are signed in). There is a download ID for every extension. Copy the download ID.
Then go to Components >> PWT Image and click the Options button at the top-right. Then go to the Update tab:
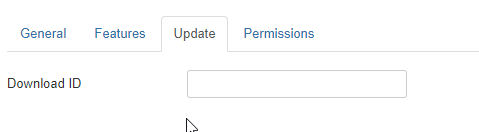
Then simply paste your download ID.
File & folder placeholders
The profiles contain the settings for where the images are stored, how subfolders should be named and how the filename should be constructed. You can set the image path and subfolder path. The following placeholders can be used:
| Placeholder | Description |
|---|---|
| {name} | The name of the original file |
| {random} | A set of random characters |
| {year} | This is replaced with the current year e.g. 2017 |
| {month} | This is replaced with the current month in digits e.g. 02 |
| {Y} | Year in 4 digits e.g. 2017 |
| {y} | Year in 2 digits e.g. 17 |
| {F} | A full textual representation of a month e.g. January |
| {m} | Numeric representation of a month, with leading zeros e.g. 01 |
| {M} | A short textual representation of a month, three letters e.g. Jan |
| {n} | Numeric representation of a month, without leading zeros e.g. 1 |
| {d} | Day of the month, 2 digits with leading zeros e.g. 01 |
| {D} | A textual representation of a day, three letters e.g. Mon |
| {j} | Day of the month without leading zeros e.g. 1 |
| {l} | A full textual representation of the day of the week e.g. Monday |
| {W} | ISO-8601 week number of year, weeks starting on Monday |
| {g} | 12-hour format of an hour without leading zeros e.g. 1 through 12 |
| {G} | 24-hour format of an hour without leading zeros e.g. 0 through 23 |
| {h} | 12-hour format of an hour with leading zeros e.g. 01 through 12 |
| {H} | 24-hour format of an hour with leading zeros e.g. 00 through 23 |
| {userid} | Will be replaced by the User ID of the logged-in user, 0 for Guests |
| {username} | Will be replaced by the users name of the logged-in user, 0 for Guests |
Conflicts using JCE with PWT Image
People sometimes have issues when using PWT Image in the JCE editor. Firstly, most people don't even have any issues, but if you do, the buttons that should trigger the PWT Image uploader (in the Images and Links tab) do not take effect and the JCE uploader is loaded. Luckily, this issue is very easy to overcome. There 2 solutions for this:
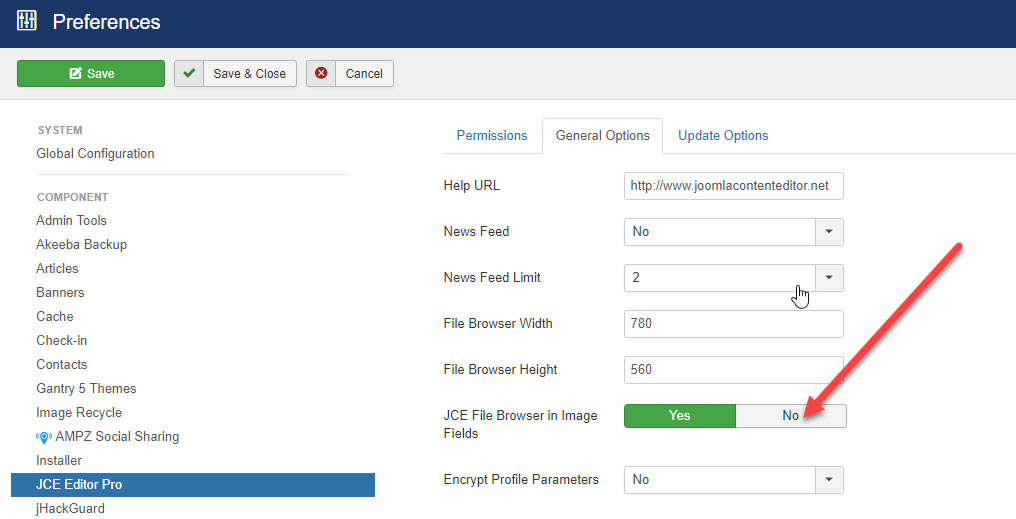
1: JCE options
Go to Components >> JCE Editor Pro and click the Options button in the top-right corner. In the General Options, make sure to set JCE File Browser in Image Fields to No:
2: Plugin order:
In the Joomla backend, go to the Extensions >> Plugins section. Then, using the Search Tools, set the plugin-type to system and click the option to order the list of plugins:
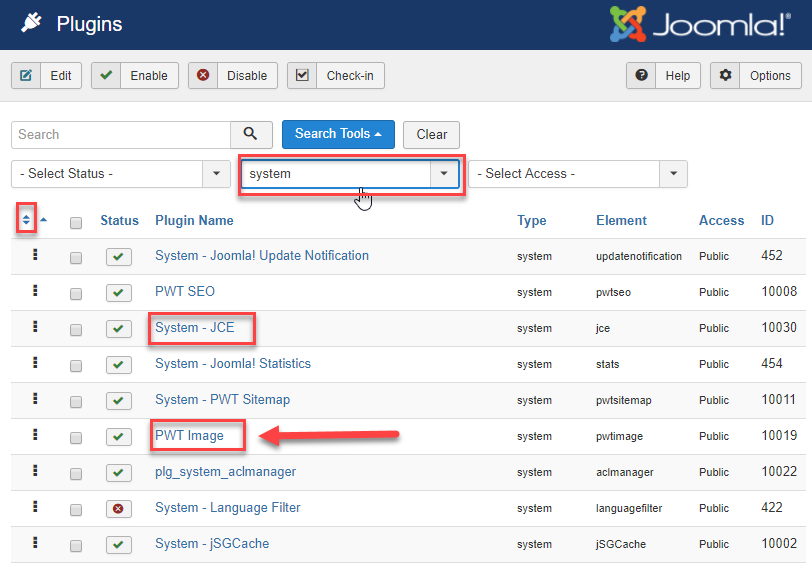
If you see that the JCE system plugin is ordered after the PWT Image system plugin, move it up so that PWT Image comes last and you should not have any issue.
Issues when site is off-line
Because of the way the plugin works, you may have an issue when the site is set to Offline in the Global Configuration settings. If so, when you want to select an existing image from your server, no images are shown. Luckily, this can easily be fixed:
Activate the Shared Sessions option, which is found in Global Configuration >> System tab >> Session Settings section:
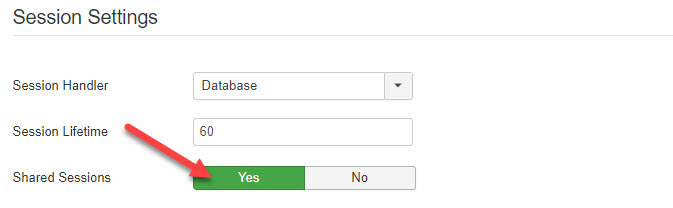
Having set this, selecting images will work again.